Let’s say you have a domain called greatdomain.com and you want to use the email address [email protected] to communicate with others. But you also don’t want to use a mail server to host mailboxes. All you actually need is to forward all emails to that address to the one you use on daily basis.
Well, Mailgun is a perfect solution to that job and is 100% free. Here is how to set it up.
Step 1 – Sign up an account with Mailgun
First thing first, you will need to sign up a free account with MaiGun to get started. Click the red Sign Up button when you are on the homepage.
Step 2 – Add your domain
Next, you need to add your domain to MailGun and verify your ownership with the system. Sign into your account, go to Domains tab and click Add New Domain to start.
Step 3 – DNS records to verify domain
Domain needs to be verified before being put in use. It requires 2 DNS TXT records to be added to your domain DNS zone. If you have no idea how to access them it’s time to get in touch with your web guy.
These two TXT records are also required to send and receive emails with Mailgun. On top of that, you also need MX records to receive emails and CNAME record for the purpose of tracking opens, clicks, and unsubscribers.
Step 4 – Create Routes
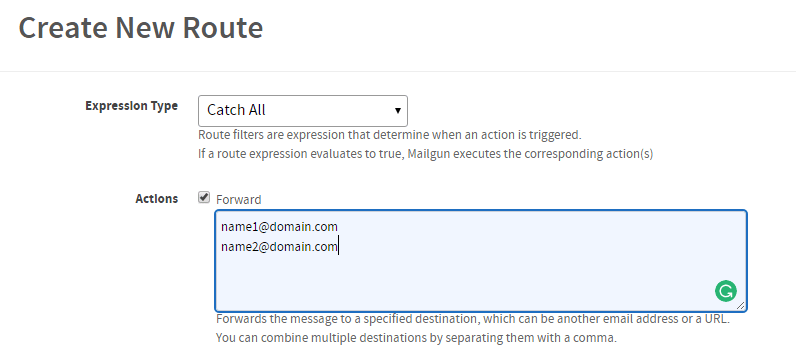
Once the domain is verified, setting up an email forwarding is much easier. Go to Routes tab and click Create Route.
Select “Catch All” for Expression Type, put email addresses you want to forward to in the Forward Action box, type a brief description of this route in the Description box, and click Create Route button at the bottom of the page.
And that’s done. You are all set. You can test the route right on the Routes page to see if everything works the way it’s supposed to be.


Worked like a charm. Perfect for people who want to set up a subdomain to send emails from but don’t want to pay for separate licenses,