Here is a quite neat trick that lets you take screenshots in Chrome natively without using any extension.
To get started, open the web page you want to take a screenshot in Chrome first. And then fire up the Developer Tools from More tools in Settings. Or, press F12 or use keyboard shortcut Ctrl + Shift + I on Windows or Cmd + Opt + I on a Mac to open the Developer Tools panel directly.
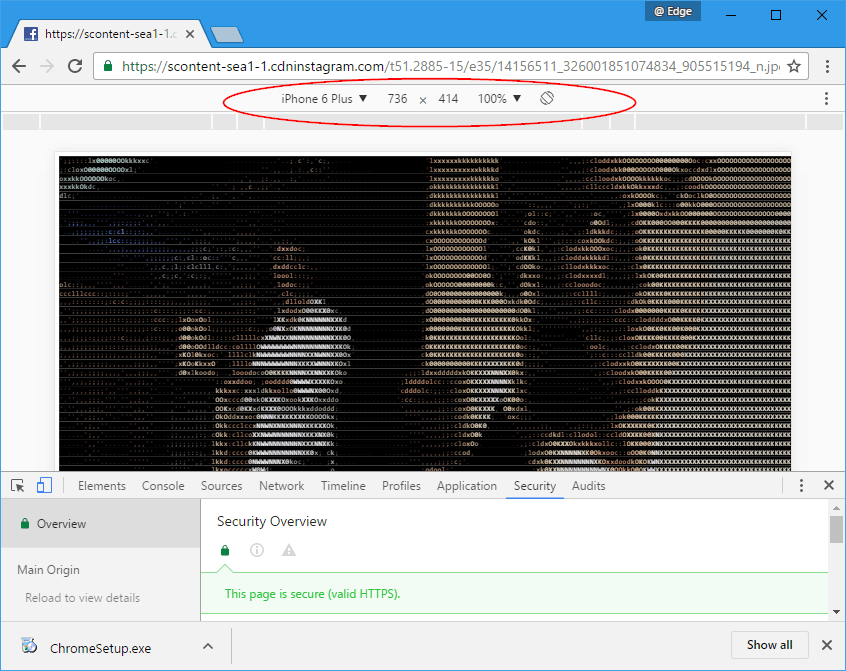
Next, click the Toggle device toolbar button to turn on the device toolbar. The icon turns blue when the toolbar is on.

Then, click the Responsive dropdown menu to pick a device that you want to use to show the page content. And use the Orientation button to turn the page in portrait or landscape mode. Set the Zoom to 100% if you need to capture more content.
Once all set and ready to take the screenshot, click the 3-dot icon at the right corner of the Device toolbar and choose Capture screenshot. An image in PNG format will automatically be saved in Download folder right after.
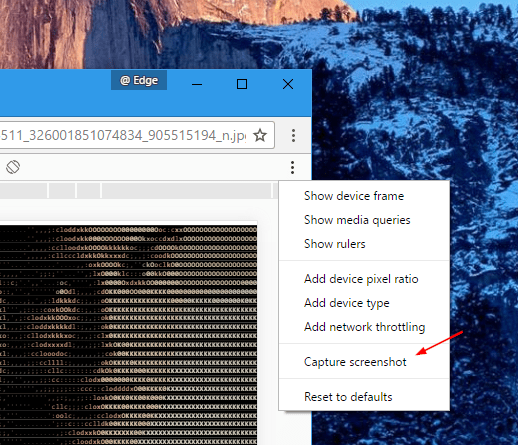
You can enable “Show device frame” and then Capture screenshot. The screenshot you took will have the selected device frame around it automatically, like below.

Pretty cool, isn’t it? Enjoy.